5 Beginner Exercises To Progress Your Straddle Handstand
The purpose of this article is to provide a general framework for a beginner to progress their straddle handstand.
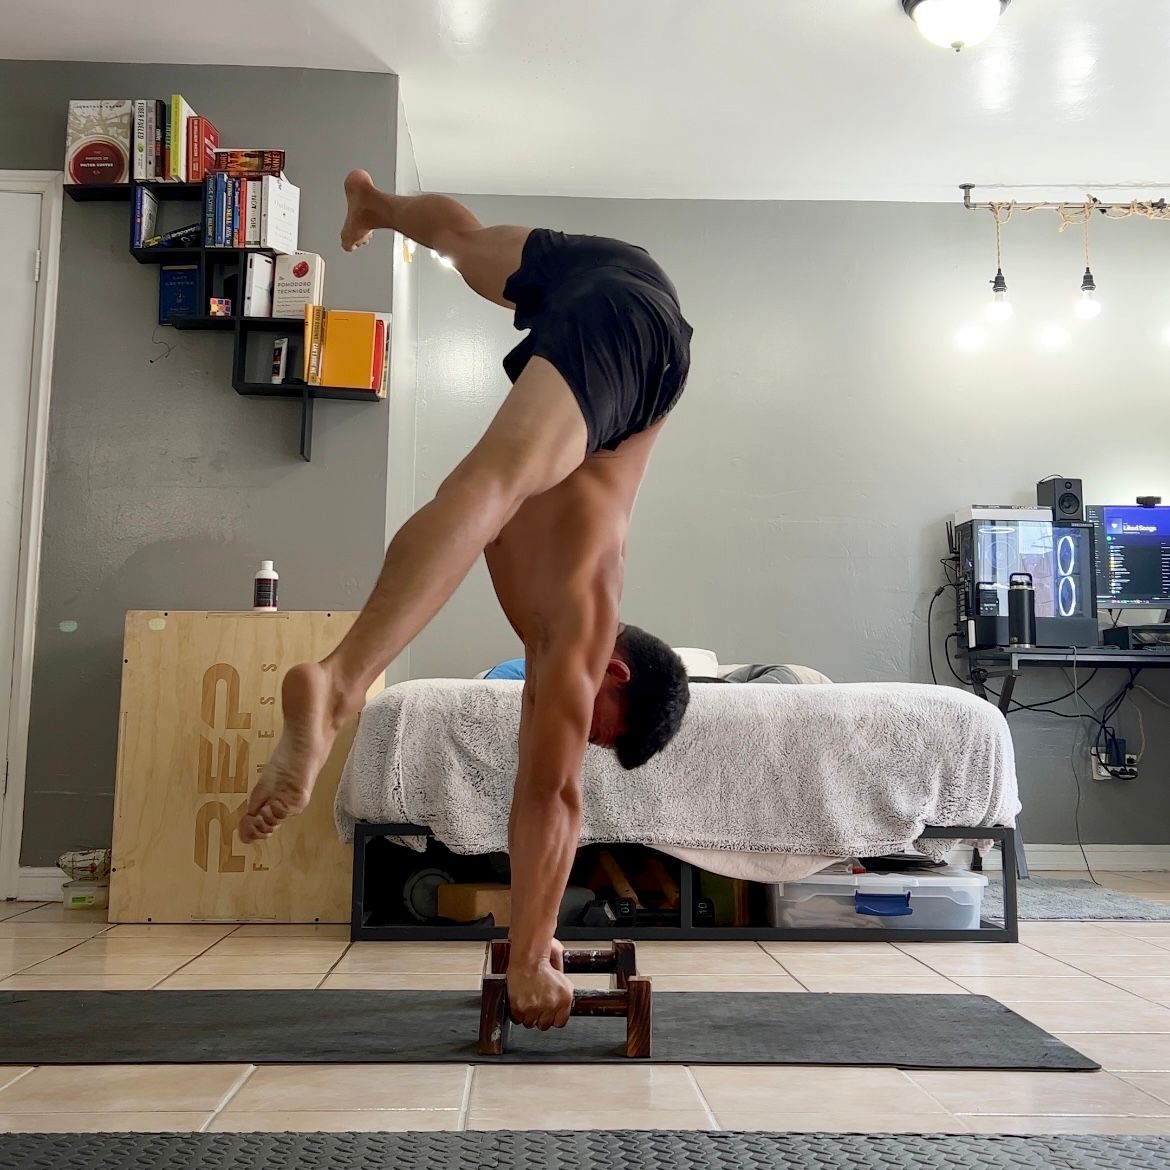
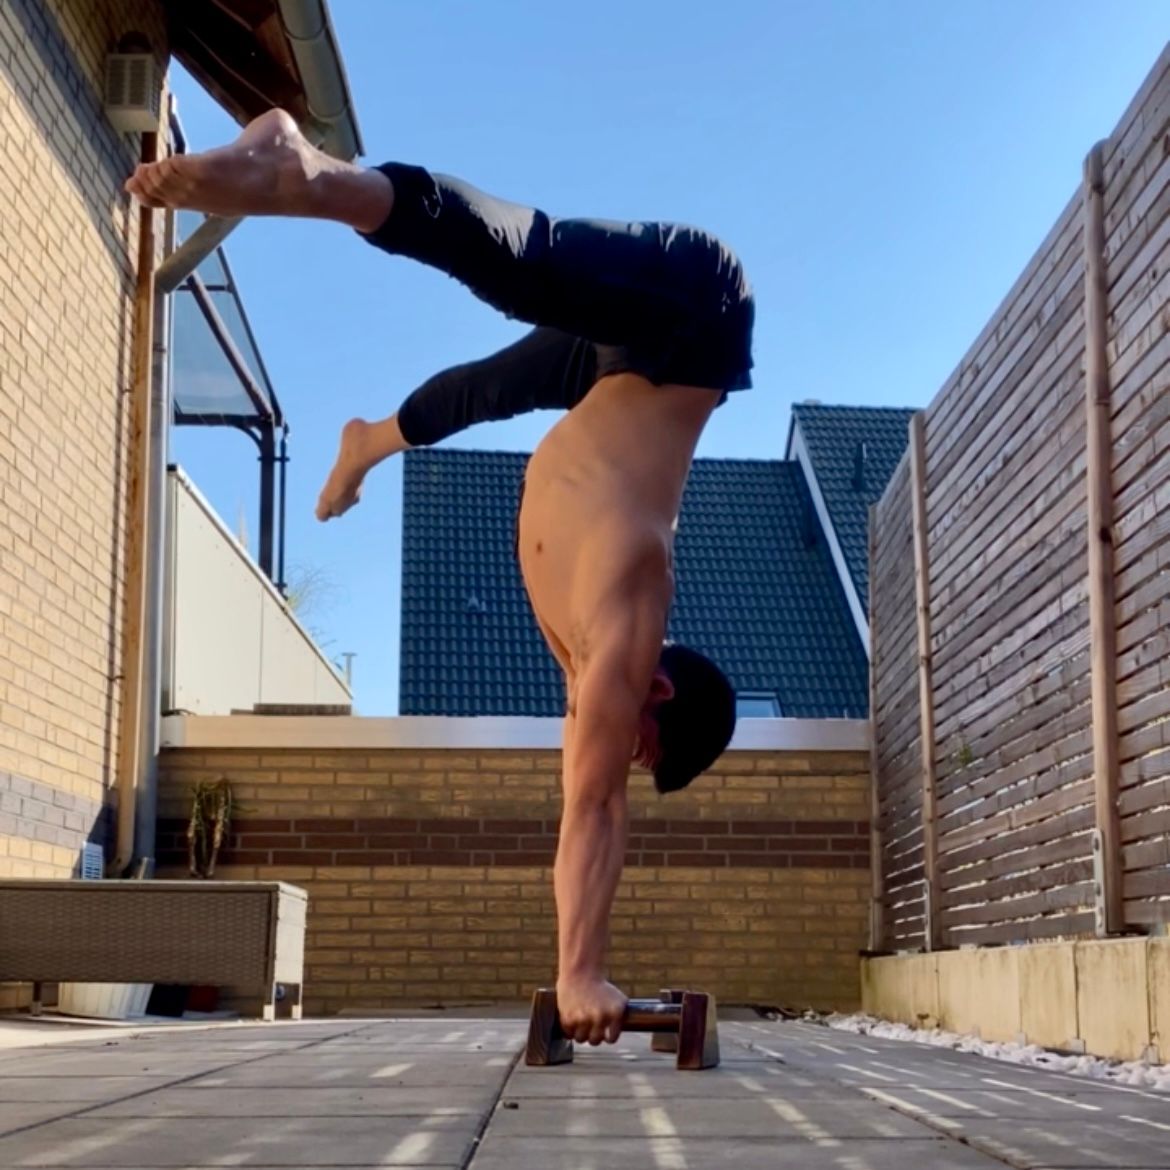
The straddle handstand. Always stealing the show and taking the spotlight. It's hands down one of my favorite shapes. There's an eye-capturing appeal when someone is upside down with their legs spread impressively apart and there are enough variations and flavors to keep you entertained and exploring for ages. Not only does it look beautiful, but it's also a foundational handstand shape.
The straddle handstand is the gateway to beginning to move the legs around in space and developing control upside down. It's a requirement for learning the straddle press to handstand and an integral piece of learning the elusive one arm handstand.
One interesting fact about straddle handstands is that it's generally easier to balance than a straight handstand. This is because our center of mass moves down as we open our legs. This makes it a shape that is very attainable and reasonable for beginners to learn. With a sound plan, you'll be straddling in no time. This article aims to provide this.
What is a Straddle Handstand
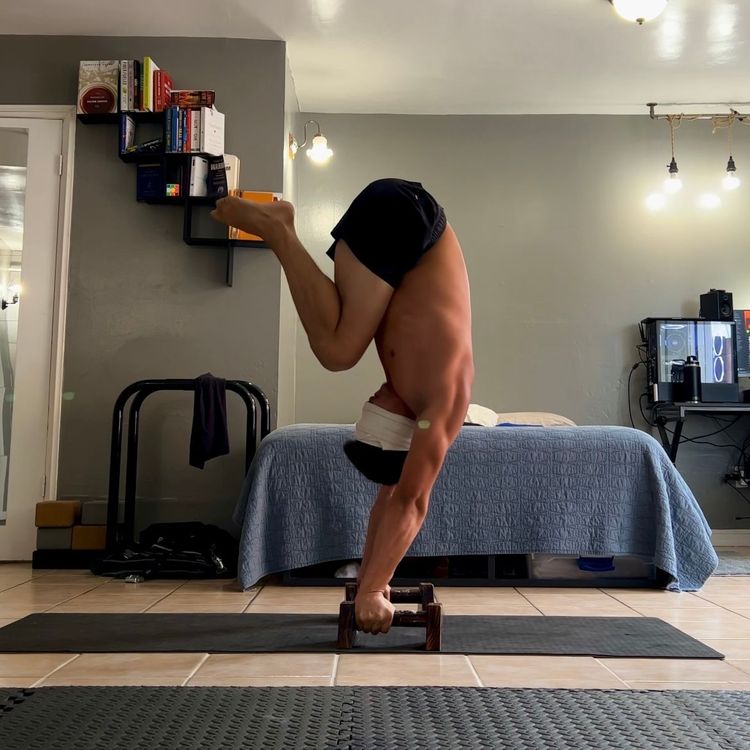
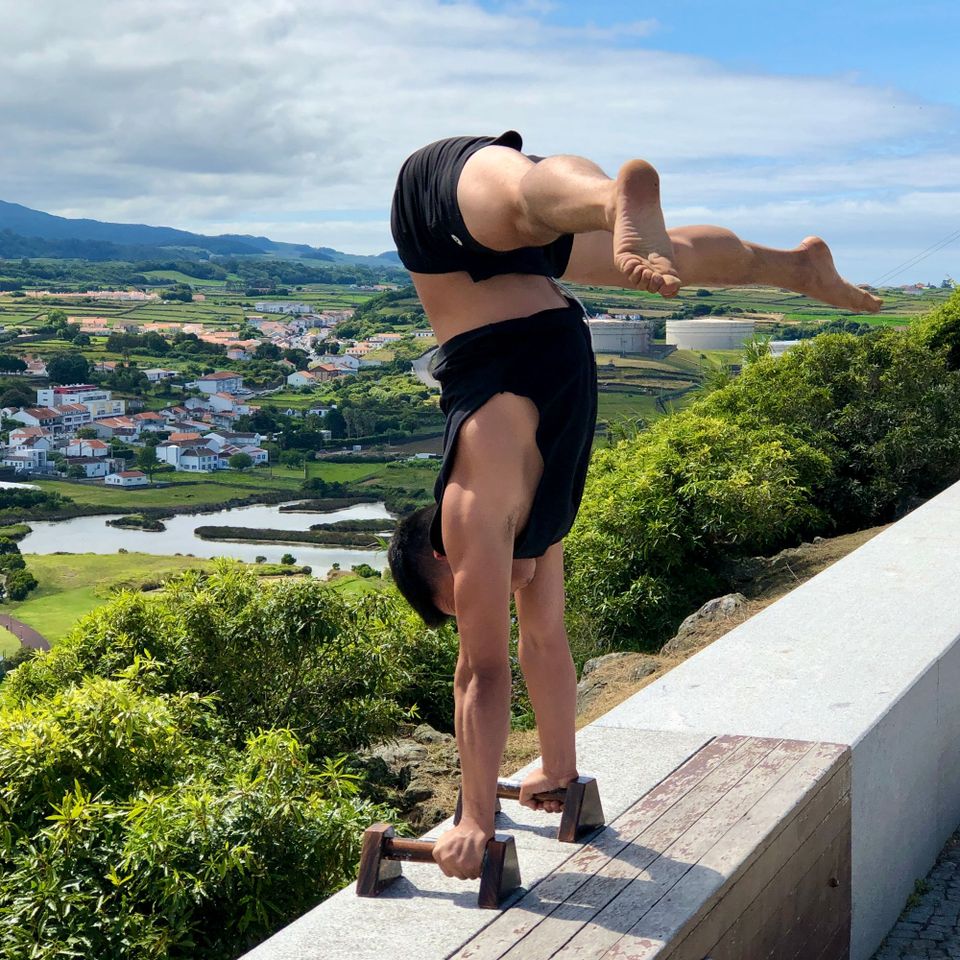
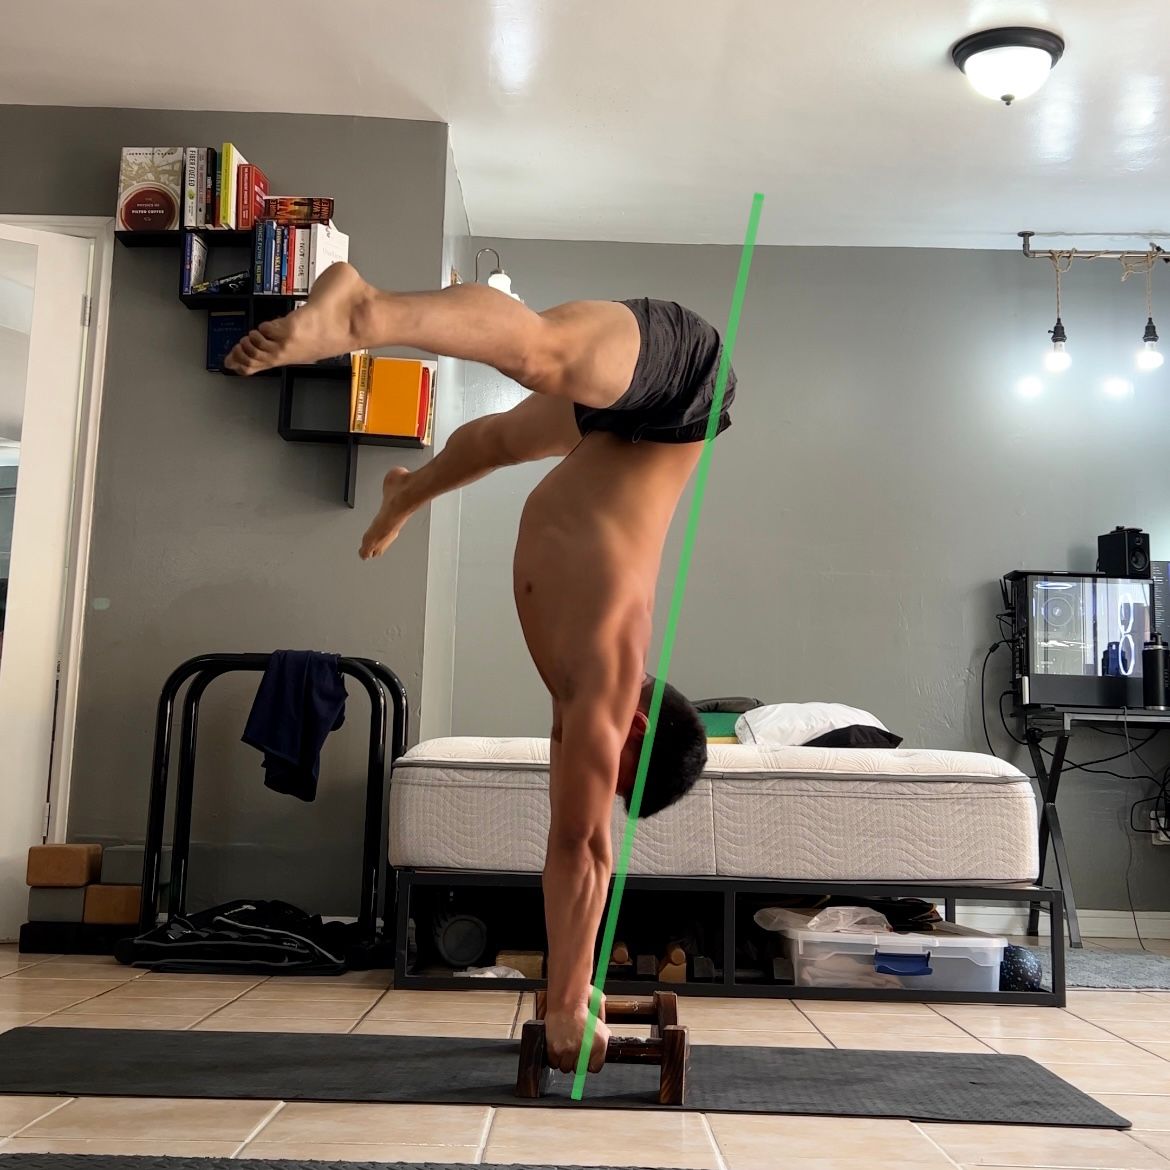
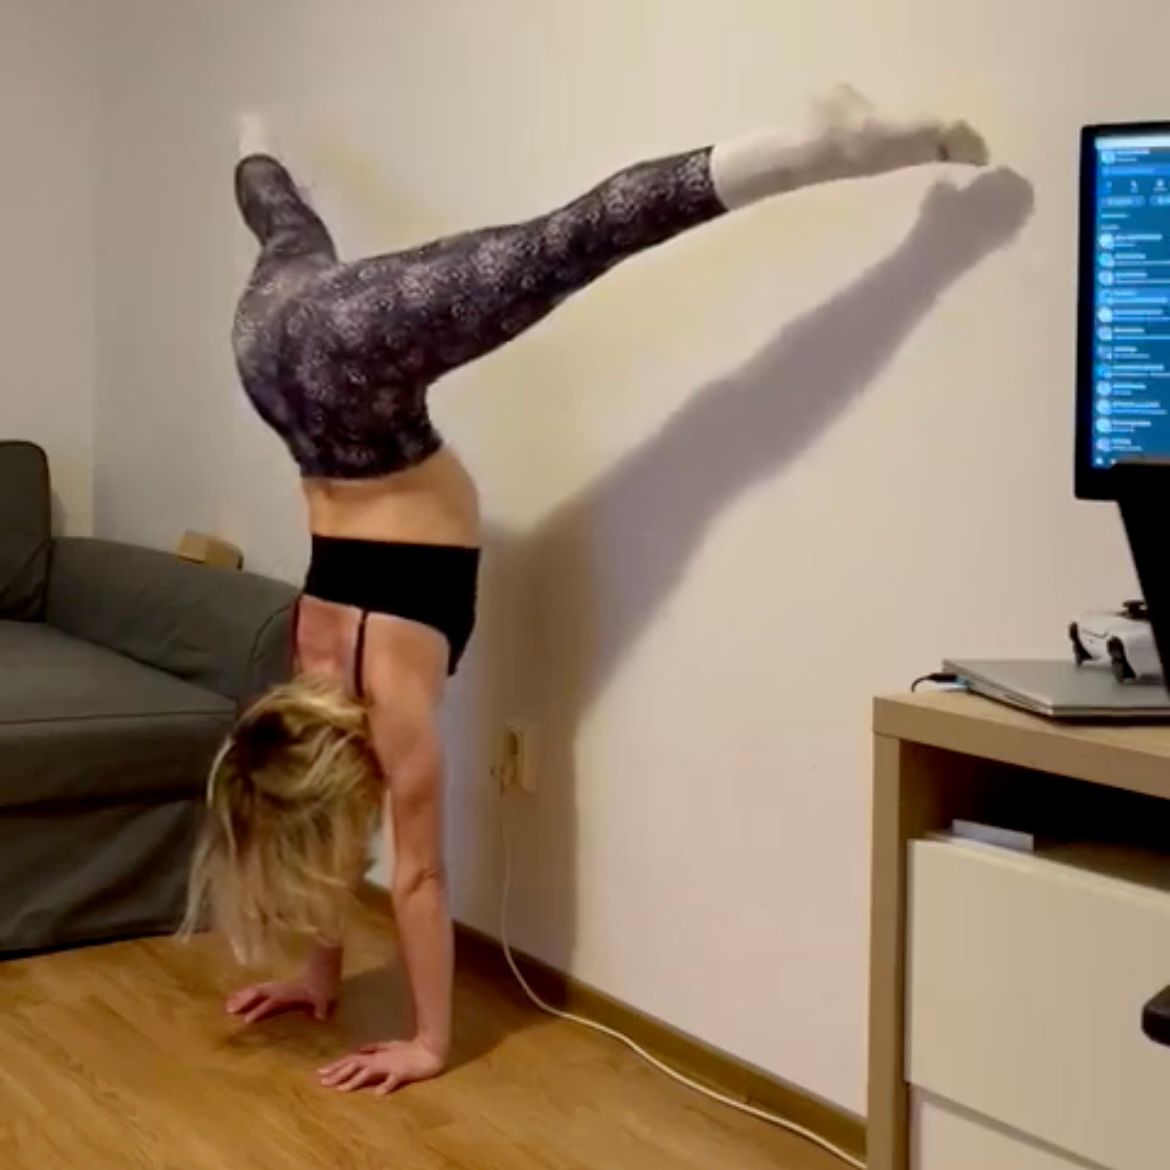
By definition, a straddle handstand is simply a handstand with the legs abducted or spread apart and the legs straight. As a result of this simple definition, the straddle handstand can take on many unique shapes. The framework explained in this article is designed with the intention of working towards a straddle handstand like the one pictured below. Legs spread open and the hips flexed.
Flexed hips means that the legs will come down in front of the body and into what's known as underbalance. As our body comes into more underbalance, the demand on our shoulders and upper back increases. This makes the shape heavier to hold than a straight handstand but is also the reason for training this style of straddle handstand. It provides a powerful foundation for working towards more advanced skills like the straddle press to handstand.
A great milestone for the straddle handstand is being able to hold the legs around parallel or below for 10-15s. However, the depth is highly dependent on many factors such as flexibility and individual goals. Therefore, how low you go is up to you and the framework below will support you on that journey.
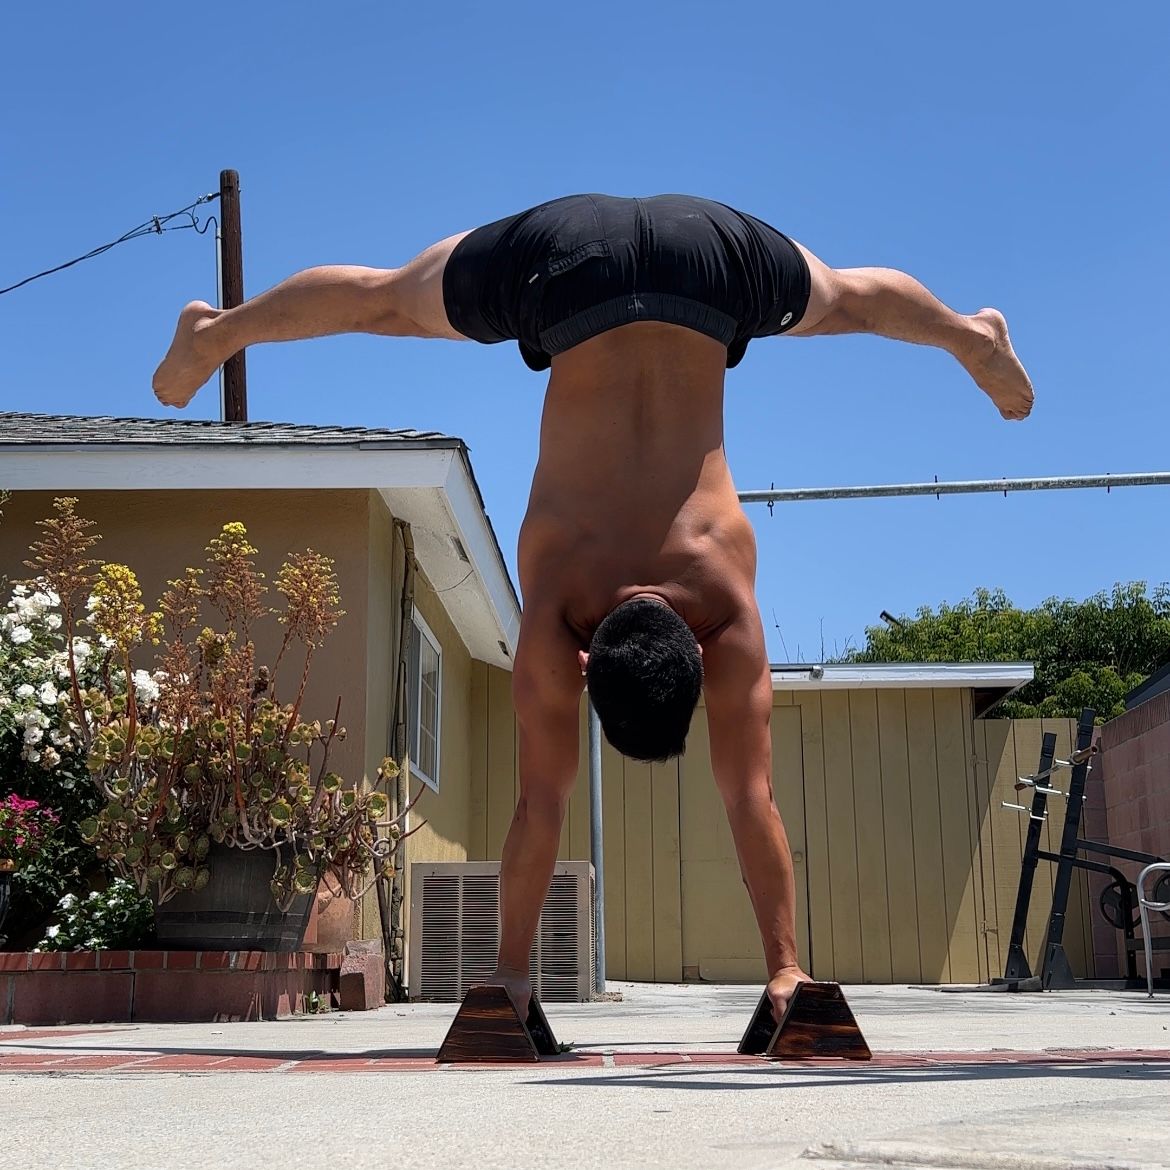
One thing to note about training towards this variation of straddle handstand is that we want to keep a straight line from wrist to hips. Similar to a straight handstand. However, since the legs coming into underbalance will shift the center of mass down and in front of the body, the body must lean in the opposite direction. This lean will bring the center of mass back over the base of support.
Prerequisites
Let's keep this simple as possible. If you can kick up onto the wall in a safe manner, have the ability to spread your legs, and have some basic knowledge of how to warmup up your wrists for handstands, you're ready!
Don't ever let someone tell you that you can't start training your straddle if you're just starting out on your handstand journey. I actually encourage you to train both your straight and straddle handstands together early on. This combined approach works because we're starting with the wall. The first drills are very beginner friendly and may boost your overall progress in handstands. So feel free to combine your straight handstand training with the wall exercises below.
The Wall
One of my absolute favorite tools for learning handstand skills is the wall. It's an immensely useful tool for any level. From a beginner who has never attempted a handstand in their life, to someone learning how to press to handstand, to someone preparing for one-arm handstands. The straddle handstand included. The wall allows us to train our straddle handstand without having to worry about balance. This may seem counter-intuitive since the actual skill takes place without a wall and requires balance. But the wall allows us to expose ourselves to the straddle in a safe and controlled manner. It allows us to learn how to coordinate and move our body into the correct straddle shape. And allows us to develop the strength required by our body to support the straddle freestanding. So don't forget, the wall is the perfect soul-supporting friend on our journey to freedom on our hands.
Setup
The most important factor for the setup is dialing in the correct hand distance from the wall. Since everyone has a unique straddle flexibility and a unique physiology, everyone will have to place their hands in a different place. It will take a bit of exploring to find and may change over time as your straddle flexibility improves. Most people will need to setup a bit further from the wall than in a normal straight chest to wall handstand. Be careful not to set up too close to the wall as this can cause the back to begin to extend. We're looking for a nice line from wrist to hips like shown above. It's better to start further from the wall with nice setup and over time as your flexibility improves you can reduce the distance from the wall.
Another important note is that as the legs start to open, you may feel a hard stop in the hips preventing you from further lowering your legs. This will feel more like a bony limitation as opposed to a flexibility limitation. When this happens, the legs need to externally rotate to allow the femur to move inside of the hips. This is what will begin to move the legs in front of the body as opposed to only along the lateral plane.
Wall exercises
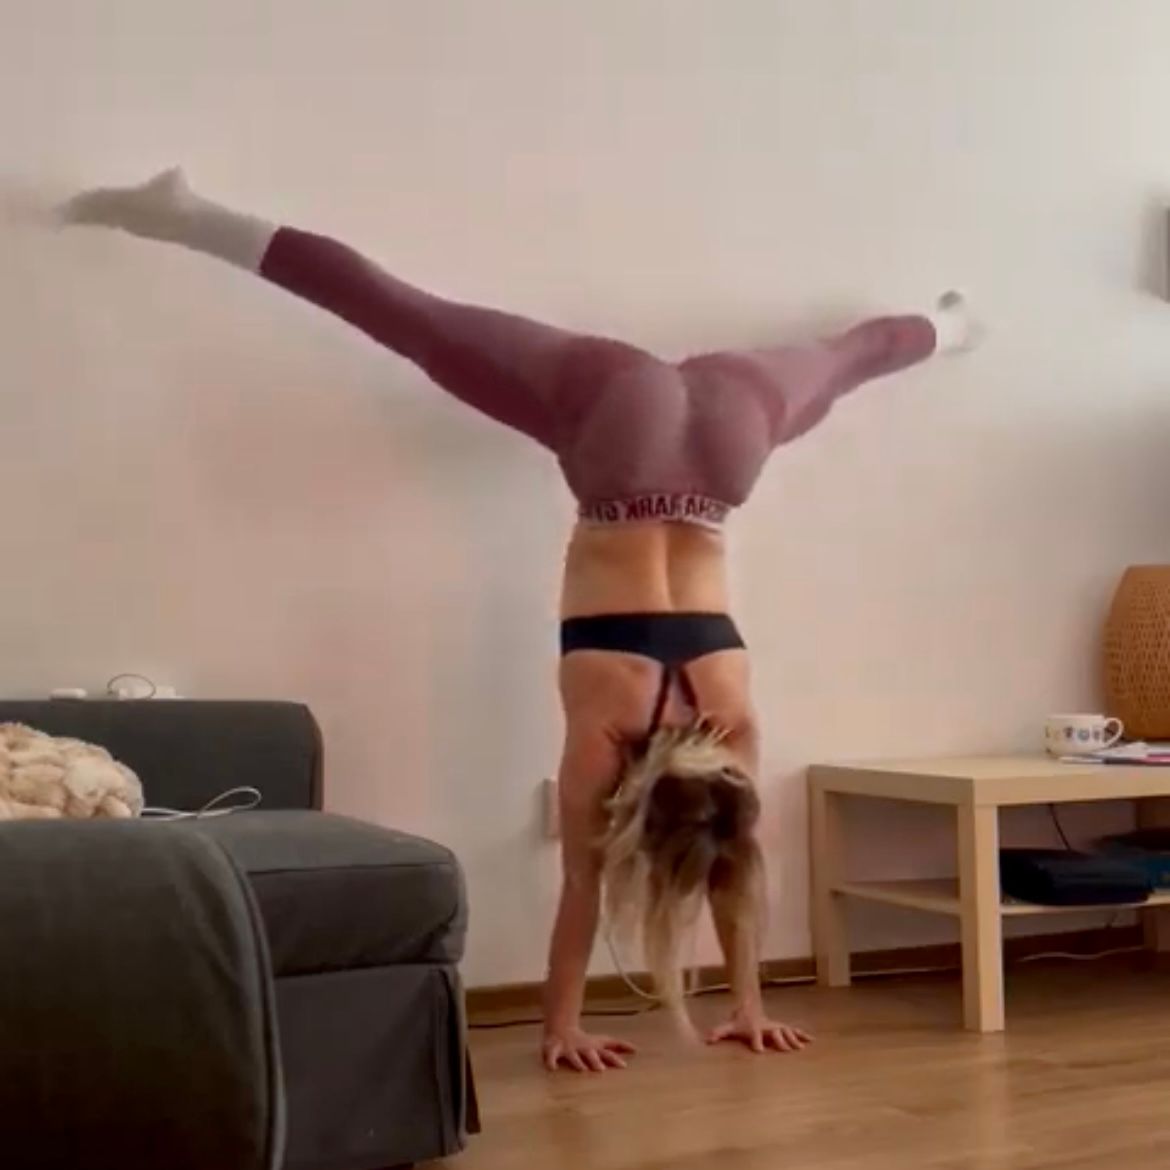
There exist many different wall straddle exercises. Below are three that I've had success with personally and frequently use with my students. The holds and liftoffs in the pictures below are demonstrated by online student, @loreonhands, who went through this very process to develop her freestanding straddle.
- Wall Straddle Holds
This is the most beginner friendly of all the exercises listed here. This is a static position without any movement. This makes it a great exercise to really dial in the proper setup.
One important point is that the straddle is a very active shape. Do everything in your power to maintain straight legs with locked knees and pointed toes. No worries if this doesn't come naturally to you. This is the time to learn it and make it a habit.
From a chest to wall hold, open your legs into your straddle handstand and hold for the prescribed time. It's helpful to wear socks to allow the feet to slide smoothly. Once in your wall straddle, begin to engage the glutes strongly. This glute engagement is critical for maximizing your straddle width as well as for control and aesthetic purposes.
3-5 sets of 15-30s
2. Wall Straddle Repetitions
As I mentioned earlier, one of the beauties of using the wall is that we can dive into the world of straddles without having to worry much about balance. This includes our first exposure to leg movements.
From your chest to wall straddle, open your legs into your wall straddle, hold for 1-2s and return to straight. Then repeat for repetitions. You can start with only repetitions and over time go on to add a straddle hold at the end of your repetitions.
3-5 sets of 3-5 reps + 10s straddle hold
3. Wall Straddle Liftoffs
The wall liftoffs are how we'll get our first taste of balancing the straddle handstand. The idea is that we'll be coming off the wall into our straddle handstand for short bursts of time. These short bursts allow us to start accumulating time in balance.
The setup is exactly the same as the wall straddle holds except now we'll explore two different options for bringing the feet off the wall.
- Using the hands - From the wall straddle you can push firmly through the heel of the hand to bring your feet off the wall a few centimeters and into balance. From here you can grip the floor and try to balance for a few seconds before coming back to the wall and repeating.
- Using the glutes - The second option is to use the glutes to actively spread your legs apart. Spreading the legs apart just a slightly bit more will pull your legs off of the wall and into balance. I prefer this variation as it requires more tension in the lower body and helps to build the habit of maintaining this tension. But feel free to explore both options and choose your preferred method.
Take your time with the liftoffs. If this is your first attempt at balancing your straddle it's okay to have short hold times. You can work towards reps of 2-3s liftoffs and over time progress towards balancing your straddle handstand off the wall for longer hold times without liftoffs.
3-5 sets of 3-5 liftoffs can be a good starting point.
Freestanding
We made it! We're familiar with our straddle, we have the important cues down, our confidence is up, and it's time to start balancing our straddle, freestanding. Just like the wall exercises, we'll follow a similar progression. Build up the static position and work towards repetitions from straight.
The freestanding straddle has several possible entries. Since we're only talking about the development of our first freestanding handstand, we'll leave out the details around entries and save them for a future article. Use the kick-up that you're most familiar with for the exercises below.
1. Straddle Hold
The freestanding straddle hold is just like the wall straddle hold except it's now in the middle of the room. Kick-up into your straight handstand using your preferred entry and begin to open your legs just as in the wall straddles. Keep in mind that you'll have to externally rotate your legs as you open them to allow your hips to continue to flex and bring your legs in front of you and into balance.
When first starting your freestanding training, I encourage you to focus on building up more time in balance as your method of progressive overload as opposed to chasing depth. Depth will come as we build the required strength, balance, and straddle flexibility. But time under tension is required to get there. The hold times prescribed below are guidelines for starting.
3-5 sets of 15s holds and progressively work up to 30s holds.
2. Straight to Straddle Repetitions
The last exercise in this framework is freestanding repetitions from straight to straddle. The cues are just like the wall repetitions. Get into your straight handstand and open your legs to a depth that you can control then come back to straight and repeat.
The secret to getting better at freestanding transitions is to get more successful repetitions in. I like to do this by working with a range of motion that yields more success. If you constantly try to go for max depth on each rep, you'll likely be falling out more than you'd like. We can limit our depth by employing the mini straddle. Start out this exercise by only opening to a very small straddle and coming back to straight. As your ability improves you'll naturally find yourself reaching a deeper straddle.
Two common mistakes here are moving the legs in a staggered or stacatto-type motion and moving too slow. Do your best to keep your legs moving in a smooth manner. Stopping and stopping along the way introduces more instability and increases the possibility of falling out. Moving too slowly also challenges balance and it can be beneficial to move at a slightly faster speed.
3-5 sets of 3-5 repetitions
Conclusion
In this article, we learned why the straddle handstand is an important and foundational shape in the development of your handstand journey. We learned that it's a very accessible shape for enthusiasts of all levels to begin to train. The article then covered a basic framework with 5 exercises for progressing from the wall to a freestanding straddle handstand. The process begins on the wall where with static holds and moves on to dynamic repetitions. From there we progress to freestanding holds and freestanding transitions from straight to straddle. Programming guidelines were also provided and serve only as a guide. I encourage you to modify, increase, or intensify the prescribed sets and reps to challenge you and fuel the development of your straddle!
If you enjoyed this article, I encourage you to subscribe to my weekly newsletter, The Sunday Spread, where I share free resources, training tips, discounts on my coaching services, as well as my personal interests like podcasts, books, and worthwhile videos. You can sign up by hitting the gray button in the bottom right-hand corner and dropping your email or signing up on the homepage!