How I Setup For The Wall Hip Flexor Stretch
The purpose of this article is to explain how to set up and progress the wall hip flexor stretch with backbend.
The wall hip flexor stretch is one of my favorite hip extension movements. It's complex and tricky, but when done properly, it stretches the hip flexors so deep, that not even a philosopher would understand 😂. It really is that good! The position is essentially a front split with bent knees. It can be a great supplement to front split training because of this. This variation of the wall hip flexor stretch is to the front splits just like a bent knee seated goodmorning is to the pancake. And with a few minor tweaks, it can be progressively overloaded cycle after cycle, regularly delivering gains along the way.
However, there are several nuances that need to be addressed in order to execute it properly and reap all of the benefits. That's what we'll be diving into in this article.
The Setup
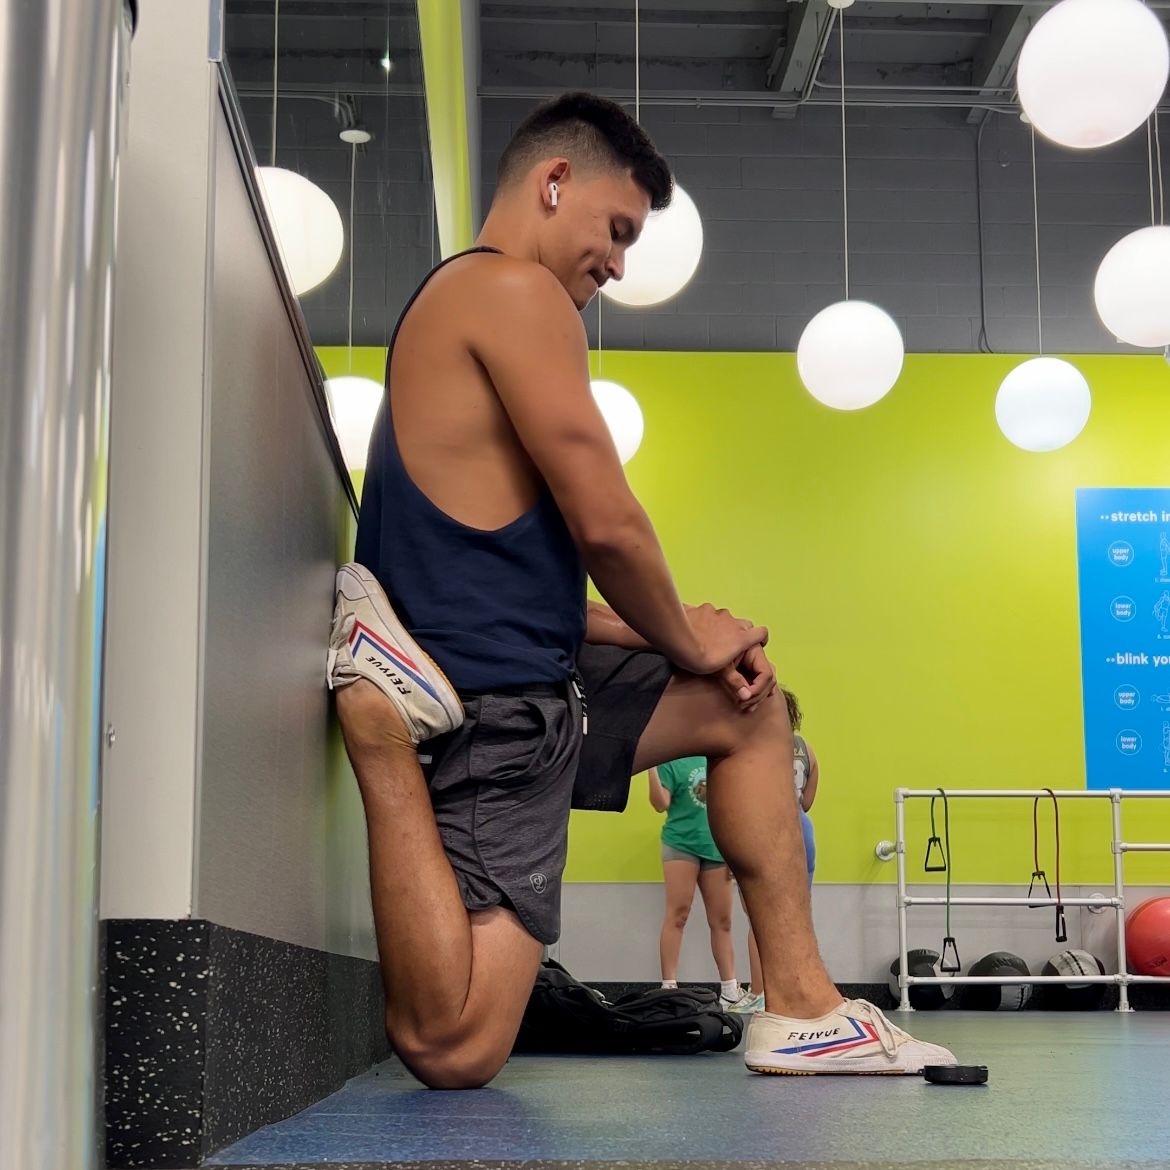
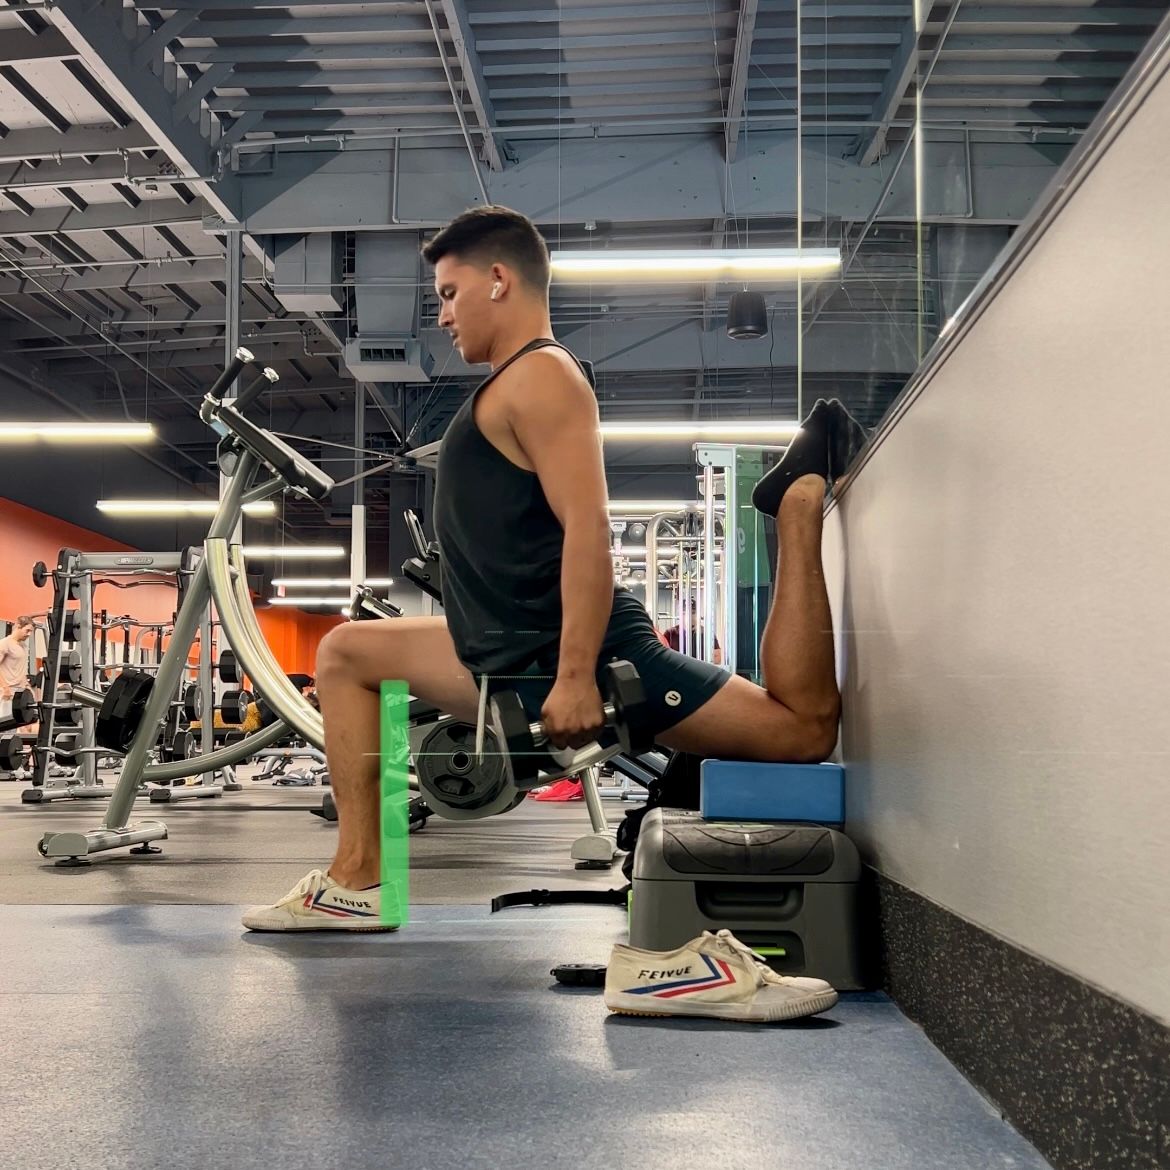
1. Back leg
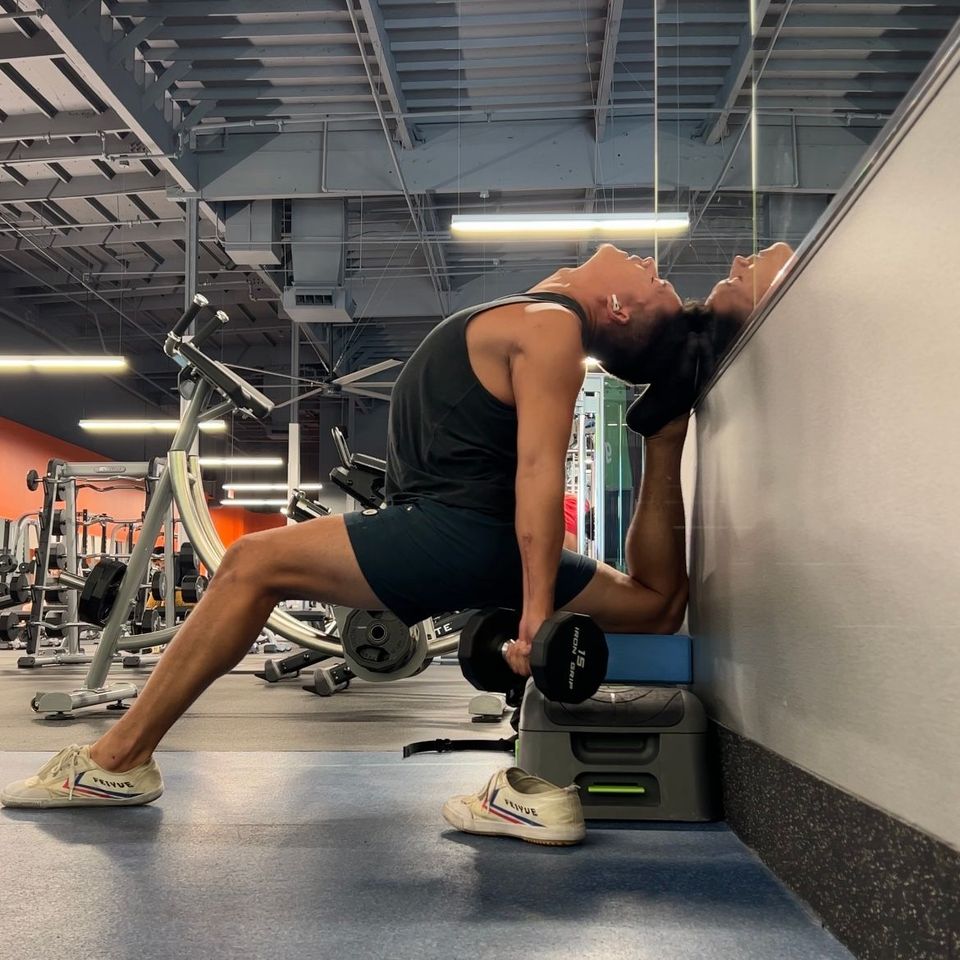
As I briefly mentioned in the intro, this variation of hip flexor stretch closely resembles a front split. Notice how there's a straight line between both knees. There's no angle at the hip. This gives it the flavor of a front split. When the back knee is placed on the ground, like in the middle picture below, the line between the knees is at an angle to the floor. In a front split, the line between the knees is parallel to the ground. Elevating the back knee will then make the line from knee to knee horizontal and parallel to the ground, just like in front splits. This is the reason that I find it to be such a great supplement to front split work.
The force exerted on the hip flexors is also larger in the horizontal position than in the angled position. This further intensifies the stretch on the hip flexors.
1a. Height of elevation
Ideally, elevate the back leg to about the height of the front knee. This is how to get into a position that most resembles a front split. However, it doesn't have to be exact here, a rough ballpark is fine. You can see in the bottom right picture where I used 2 yoga blocks to elevate my knee and I don't quite get up to horizontal. This setup also works just as well.
1b. Equipment
Stability and comfort are key details here. As with all flexibility exercises, our nervous system plays a defining role in how deep we get in a stretch. If our brain senses any instability or discomfort in the stretch, it will perceive the position as a threat and limit our range of motion. To prevent this, it's crucial to elevate the knee on equipment that is stable and comfortable. The most stable setup I've been able to find is using a firm stepper with one yoga block and the block pressed firmly against the wall and positioned lengthwise. Setting up the block lengthwise allows more leg to come in contact with the block, giving the nervous system more confidence in the stability of the setup. Stacking yoga blocks works, but has the potential of tipping over mid-stretch. If using multiple blocks, I highly recommend sticking with cork blocks. They're much more stable than foam blocks. But they can be uncomfortable on the knee. This can be addressed by padding the top block with a yoga mat or piece of clothing. Sounds insane, but adhere to the rules of the nervous system and you'll be rewarded with bendy gains.
2. Front foot
Just like the back foot, the way we set up our front foot must also instill confidence in our nervous system. Again this means comfort and stability. As we gain familiarity in the position and start getting deeper into the stretch, our front foot will begin to drive into the ground more and more. This can cause the foot to start sliding out depending on the grip of the floor surface or whether shoes are worn or not. My recommendation here is "the more stability the better". I personally prefer to wear shoes and have to worry less about the floor surface. Socks can be slippery on several surfaces in this stretch. Barefoot works great on several surfaces but sweat can cause the foot to slip. Using a yoga mat under the entire setup often ticks all the setup boxes.
3. Getting into the position
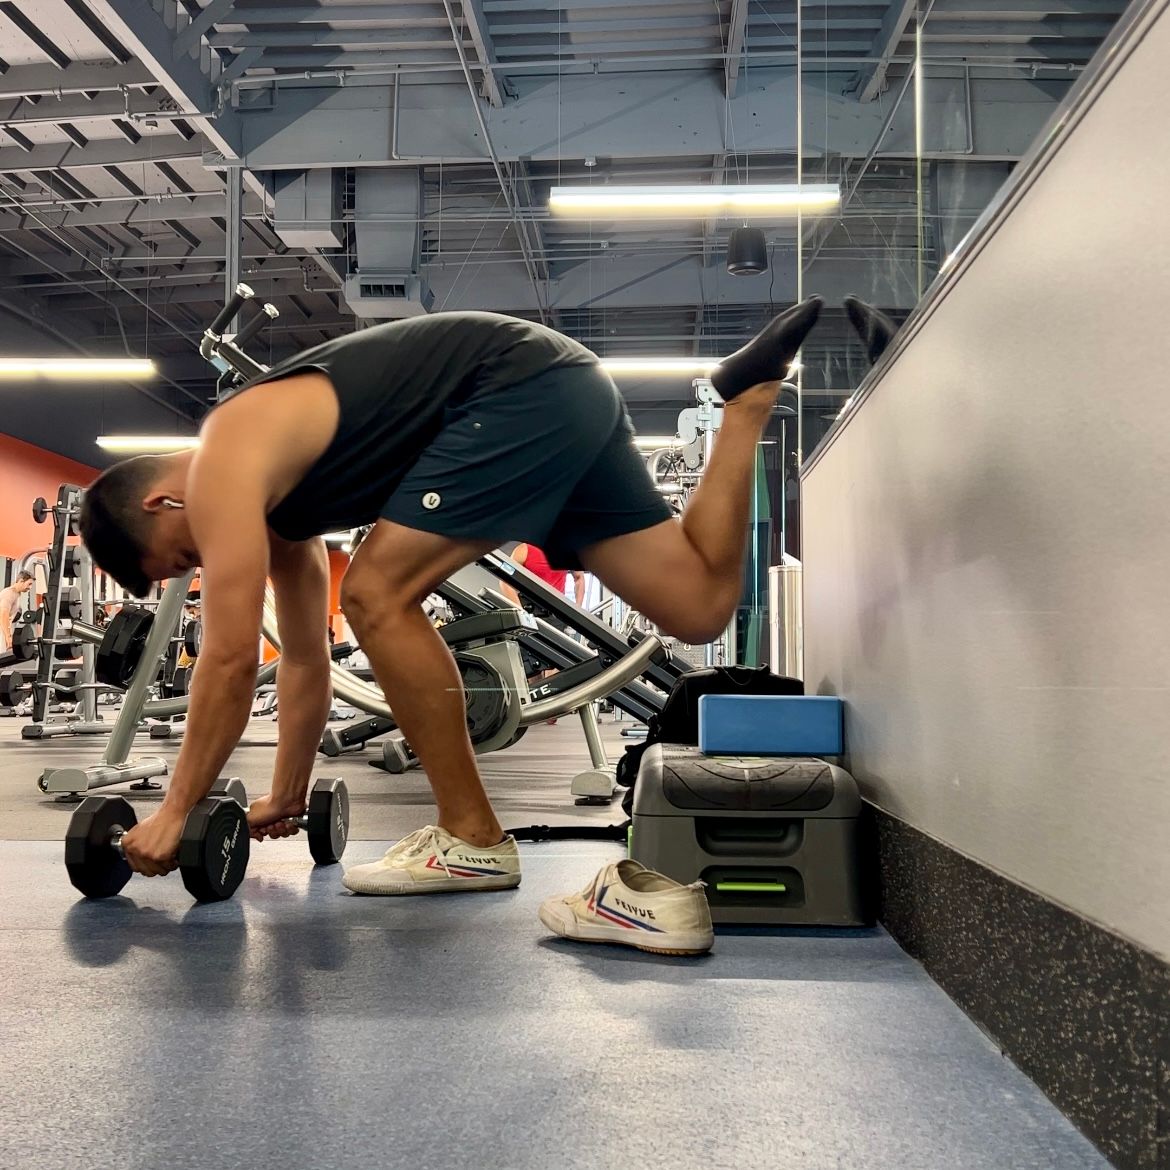
There's a few ways of getting into the position. I'm presenting just one way that I find simple and effective. Start with both hands and feet on the floor. Bring some weight into both hands and place one of the knees on the block like in the first picture below. Making sure to press the knee as close as possible to the wall and get as much knee and quad in contact with the block. From here, lift the torso into the starting position. Starting with both hands on the ground puts the hip flexors in the least stretched position allowing a more calm and controlled entry into the lengthened position.
4. Load
Two points regarding load and shoulder position.
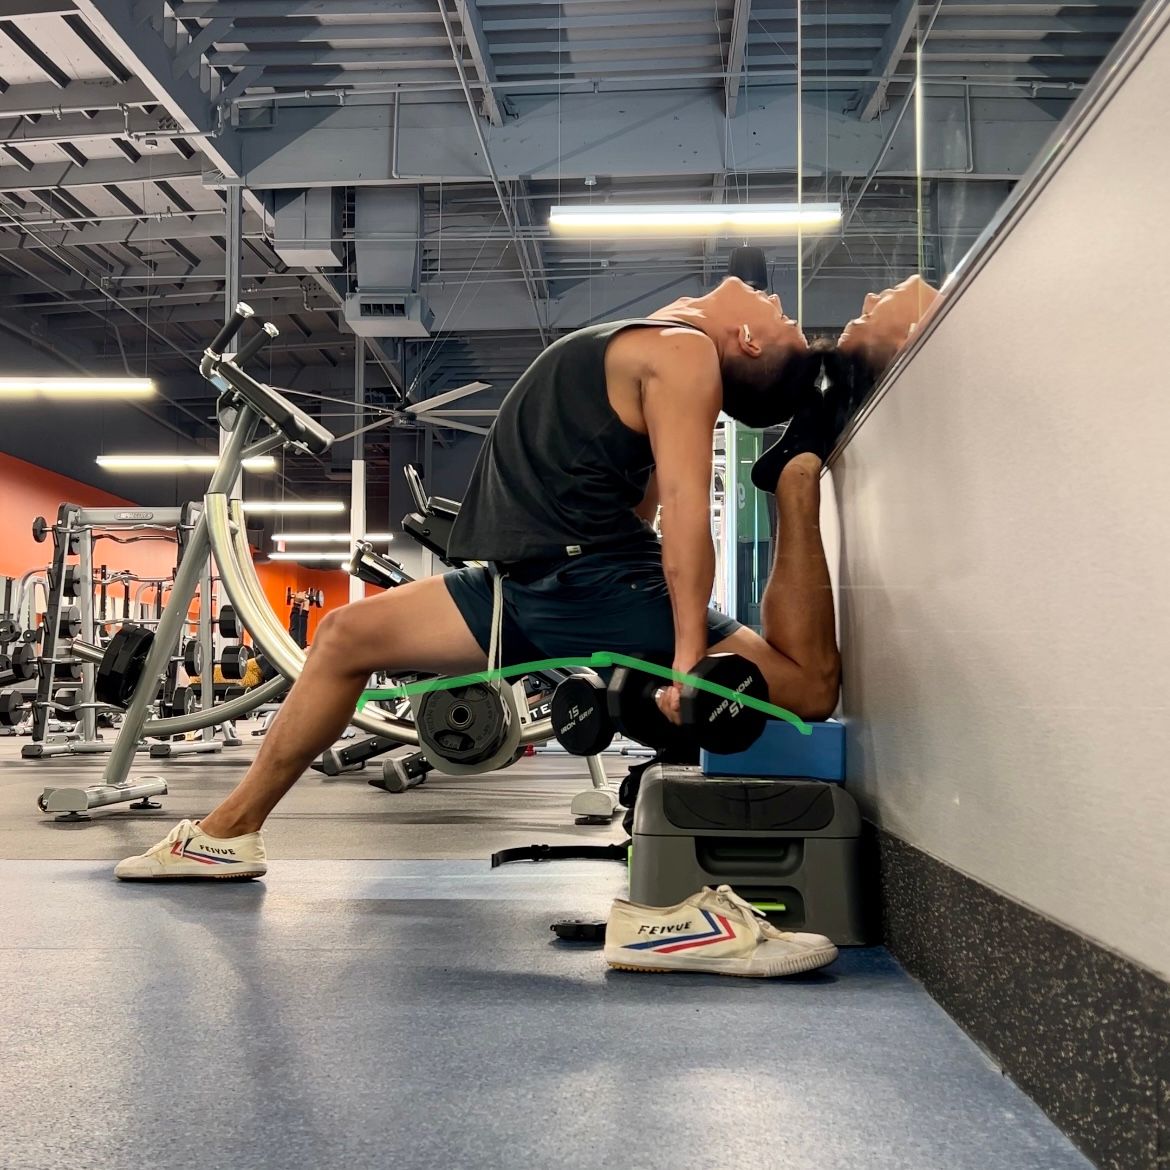
Start light. 2-6 kg is enough to start building up a tolerance to the stretch. This may also be enough weight for many people to sink deep and continue to see progress without changing the weight. But there's also no need to be afraid to progressively build up to heavier loads. The hip flexors can be a stubborn muscle group to open up and can often handle a fair amount of intensity.
Notice on the article's main picture and the third image below how my arms and shoulders are externally rotated. Externally rotating the shoulders and actively retracting the scapula will encourage more muscle recruitment in the upper back and facilitate extension of the thoracic spine and allow the deepest bend possible.

Key Detail
1. Posterioir pelvic tilt:
Most details were covered in the setup, which means there's only one key detail, the most important one. Maintaining and locking into a posterior pelvic tilt (ppt) on the back leg. Remember this, no posterior pelvic tilt, no hip extension. This is a hip extension movement all focused around stretching the hip flexors. Therefore, in order to extend the hip and stretch the hip flexors, the glutes must contract. I can't stress the importance of this enough.
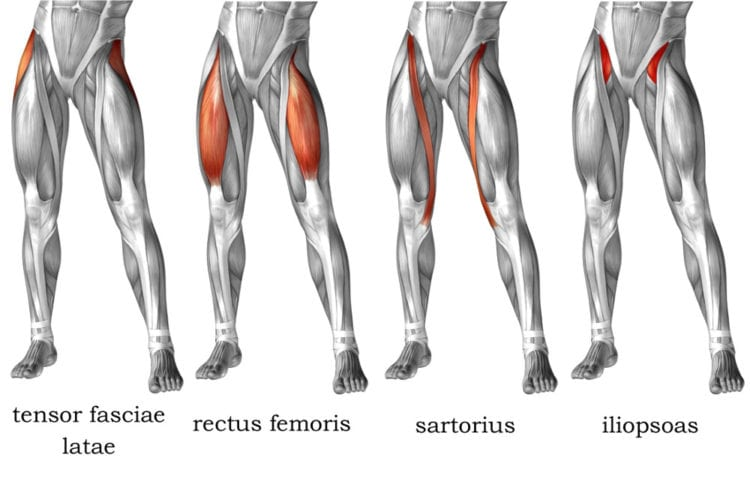
Take note of where the stretch sensation is being felt. You should feel much of the stretch around the front of the hip with some stretch lowering into the upper portion of the quads. However, if too much stretch is felt on the quads, you may not be in a sufficient hip extension. The hip flexors are not one muscle, they're a group of muscles. See the image below. Oftentimes, the hip flexor that is most commonly tight in the general population is the iliopsoas. This is why it's important to feel a stretch primarily in the front of the hip.
Prerequisites
1. Couch stretch
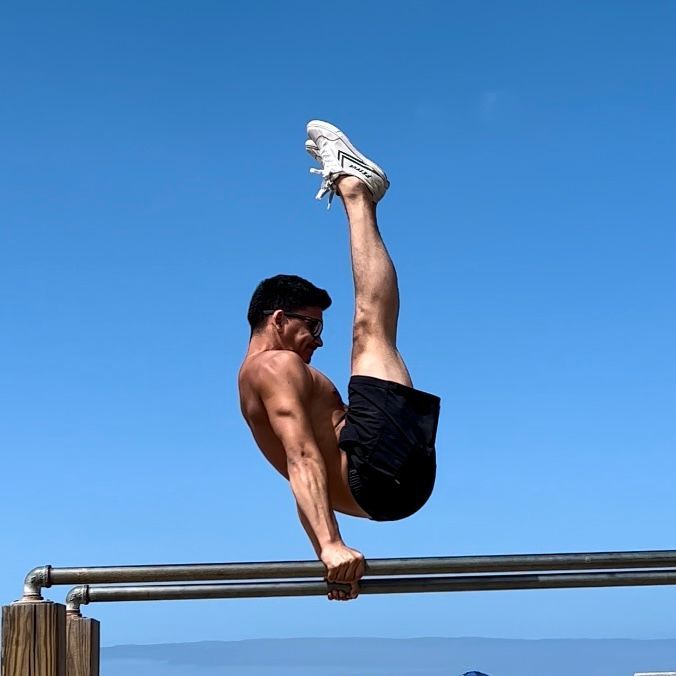
It's not uncommon to have to get past quad tightness before getting into the hip flexors. This is because of the rectus femoris which crosses the hip and knee joints. You can see the rectus femoris in the image above. Building up a fairly comfortable couch stretch is a reasonable prerequisite before starting to train this stretch. It doesn't have to be textbook perfect with the knee flush against the wall. You can see my couch stretch below for reference. One idea is building up a couch stretch to roughly to this depth for a comfortable 45-60s.
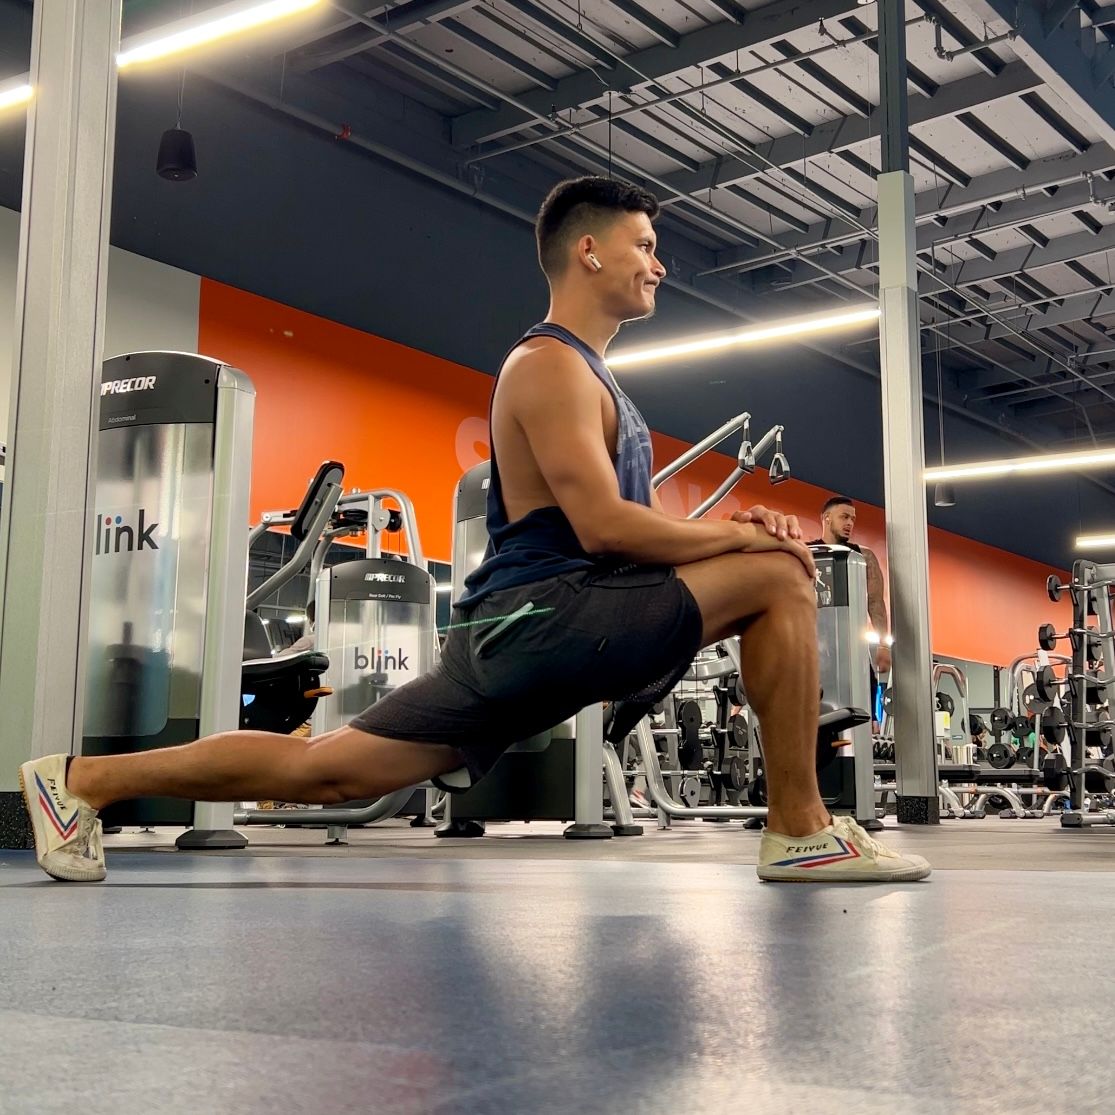
2. Hip extension experience
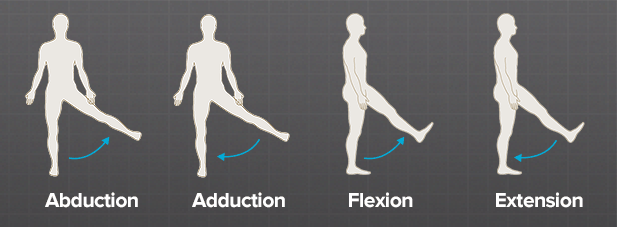
Because this is a complex movement with several details that require thinking power and coordination for proper execution, I recommend having training experience with basic hip extension movements. One idea is training the long lunge glute lift and building up to 3 sets of 6-8 reps + 10-20s hold. See the second image below.
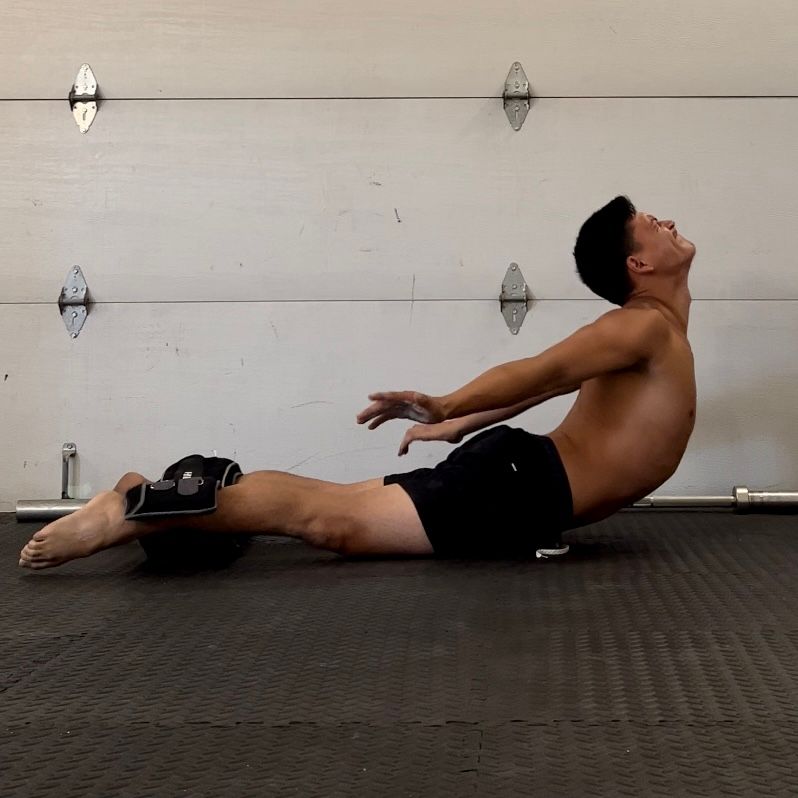
3. Experience with backbends
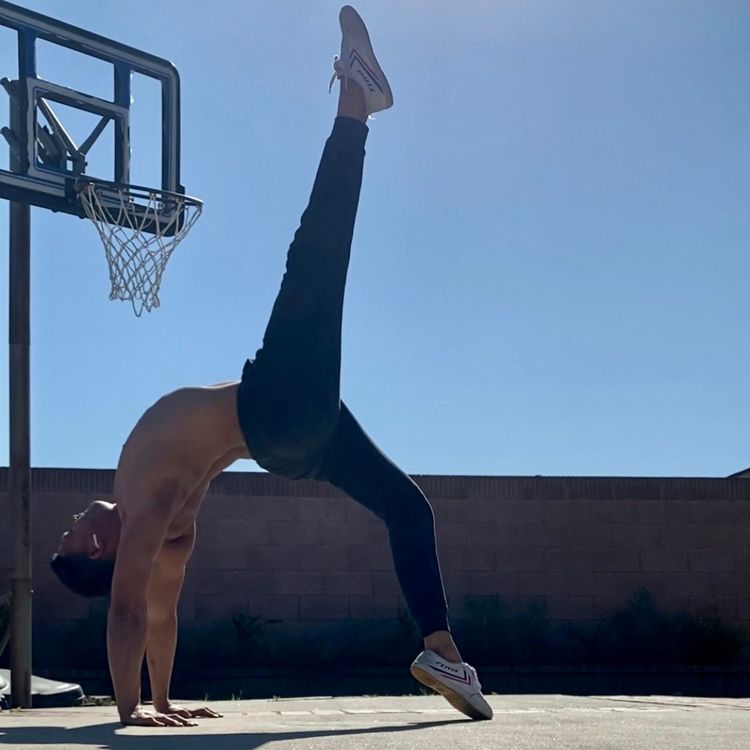
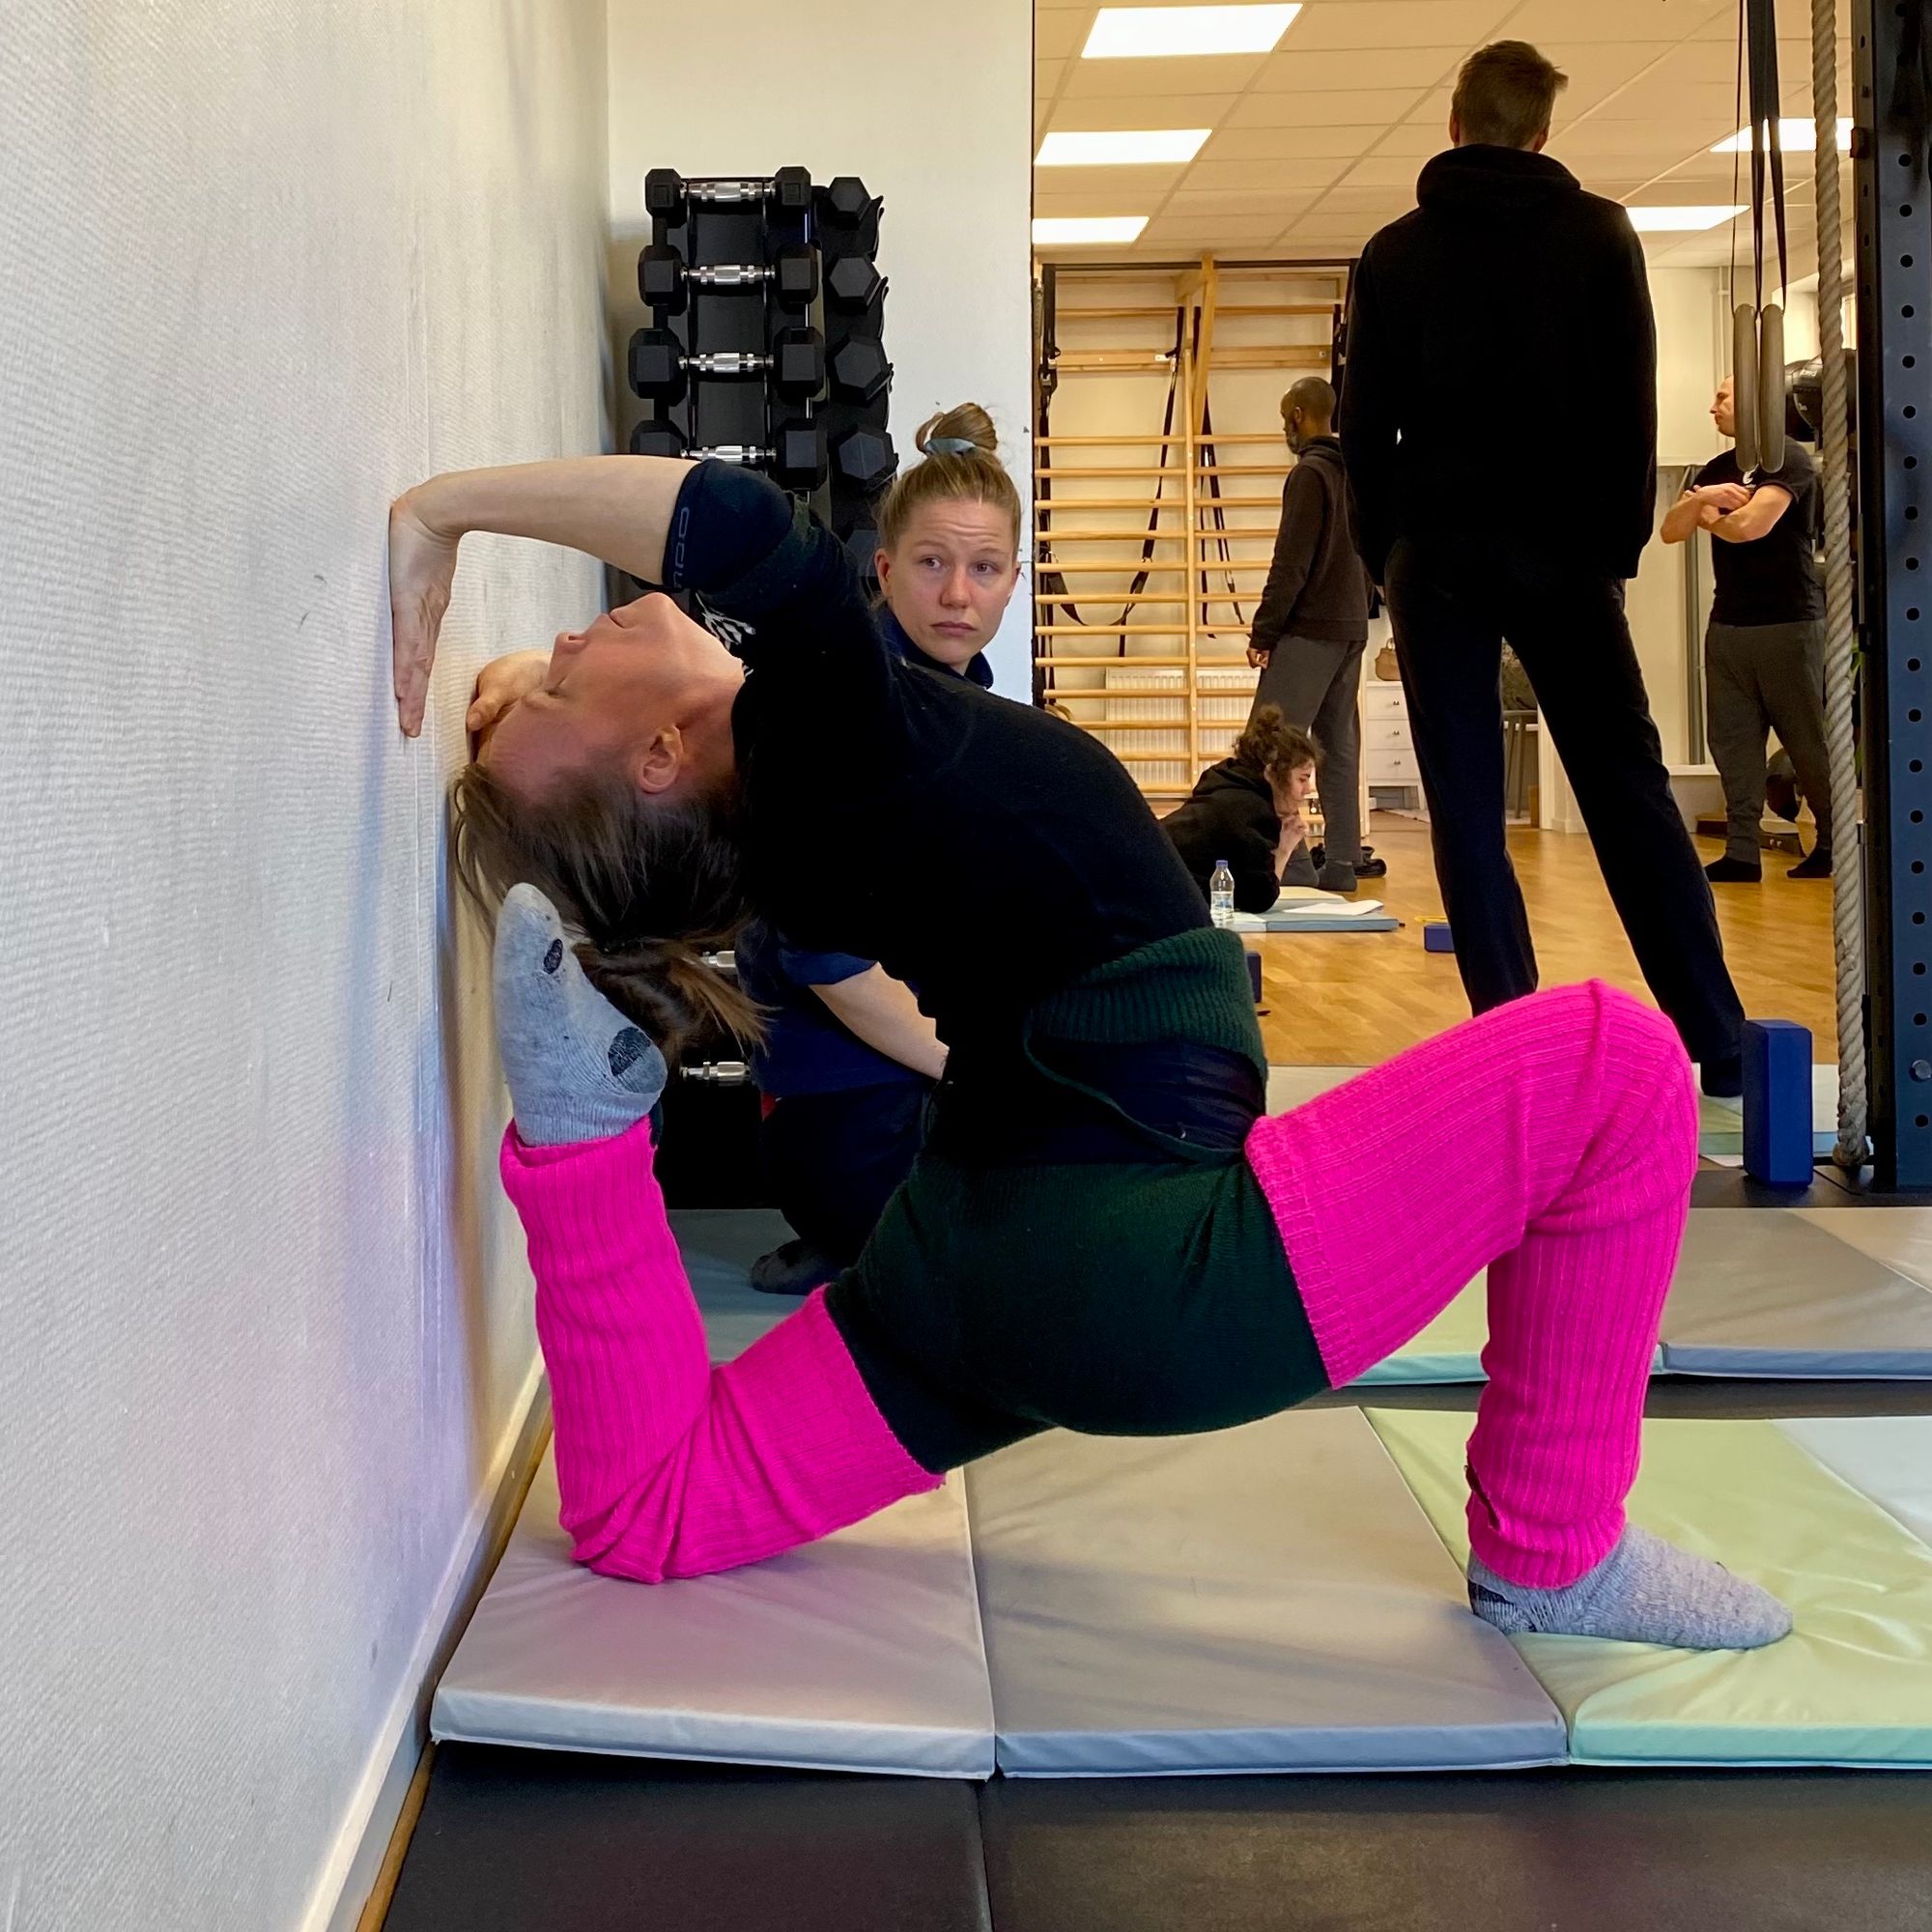
Just like point number 2 above, I recommend having some training experience with backbends. This means having basic knowledge and practical experience with aspects of backbending like: how to contract the lumbar and thoracic spine, how to lengthen the spine, how to breathe, and how to use the glutes to offload the demand on the lumbar spine. One idea may be to train active cobra and build up to 3 sets of 6-8 reps + 10-15s hold before moving on to the hip flexor stretch. See the third picture below for the active cobra.
Progressions
The movements below are progressions toward the end goal. Touching head to toe. It's an impressive display of flexibility! As well as a demanding movement that deserves respect and time to develop. So it's critical not to rush the process. Large adaptations in flexibility take time to occur. Embrace the grind and the results will come. That said, each of the progressions below is its own movement and requires quality training time to learn and do well. As long as you're following the golden rule of progressive overload and seeing progress over time, they can each be trained for multiple training cycles without a problem.
1. Hip extension only
The first progression toward the full position is training it without a backbend component. Keep the torso upright and all focus on training hip extension, getting familiar and building comfort in the position, and progressively trying to get an increase in range of motion. Start with a light load and work on sinking the hips.
3-4 sets of 45-60 seconds.
There's two contractions that can be done here to help with sinking deeper into the position. One is to actively try to extend the knee of the back leg by pushing it into the wall. And the second is trying to push the knee forward. Try both contractions and train the one that you prefer.
2. Hip Extension with Backbend
It's time to work on the prize, head to toe. Same as above, except now with a back bend. Start by sinking into the hips as much as possible and then with a strong glute contraction perform repetitions of back extensions with short holds at end range. Short holds at end range allow us to spend time in the new position while allowing adaptations to take place before introducing longer, more intense holds.
3-4 sets of 3-5 3s contractions. Build up to longer holds of 45-60s over time.
3. Hip Extension with Backbend and Back Foot Liftoffs
This progression is more of a variation. It's essentially the same position except a leg curl action performed, trying to actively curl the back foot towards your head. It can be done with the backbend component and without. I recommend first training it without the backbend and working on getting your back foot towards your glutes. Beware it may cause serious hamstring cramps. No worries if it happens. Reduce the intensity, take a short break and keep going. It will improve over time.
3-4 sets of 3-5 lifts + 10-30s holds
Common Mistakes
1. Lifting hips during the backbend
This is a hip extension movement. This means that the hip of the back leg must be in as much ppt as possible with a strong glute contraction. The hips moving upward during the backbend is a sign that you need more ppt. I.e. squeeze your glute, tuck your hip and lock it in place! To prevent the hips from shifting upward, limit your backbend to a depth that doesn't allow any hip displacement.
You'll know your hips moved upward if the stretch on your hip flexors decreases or if there's an angle at your hip as opposed to a straight line. The picture below on the left depicts this angle.
2. Front foot not far enough forward
When the front foot is positioned directly beneath the knee or slightly behind, there's more hip flexion on the front leg compared to when the foot is positioned in front of the knee like in the article's main image. Too much hip flexion in the front foot can limit how deep we sit into our hips. However, this isn't the case for everybody. If you feel like you can sink deeper into your hips and get more hip extension but your front leg feels like it's getting in the way, try shifting your foot forwards. It'll free up space for the hips to sink more.
Conclusion
Overall, the wall hip flexor stretch is one of my favorite hip extension stretches for many reasons. It can be trained in a way that's relevant to the front split, back extension can be trained simultaneously, and it can be progressively overloaded over many training cycles. It's complex with many minor key details. But get the details right, give the position time and quality effort, and you'll be rewarded with all the juicy hip and back extension gains!
If you enjoyed this article, I encourage you to subscribe to my weekly newsletter, The Sunday Spread, where I share free resources, training tips, discounts on my coaching services, as well as my personal interests like podcasts, books, and worthwhile videos. You can sign up by hitting the gray button in the bottom right-hand corner and dropping your email or signing up on the homepage!